Tuesday, December 2, 2014

Japanese Art

I recently completed a 5 week course at the local art museum in Japanese woodblock printing and calligraphy. I love all kinds of Asian art, and I was looking forward to this class for months. We did a wood block carving and print, made a name stamp and did some calligraphy. 


The first day of class, we had a Japanese model come in and we all did sketches of her in different poses with props.  This pose with the fan was my favorite and the one I used to make my woodblock. I cropped it to just the corner of the fabric and her arm and hand holding the fan. 


The final print on good Japanese rice paper. I'm happy with the print, though I do feel there is a bit of empty space on the right hand side, but I'm not sure what to do with it. Possibly do some light sumi-e painting in the background, cherry blossoms or something. 

There is also the red name stamp.  We got to carve our own with the same wood we used for the print, but obviously on a much smaller scale.  I used a cherry blossom because it was more fun than just my initials. 


My name stamp. Traditionally, they are carved into soapstone, but since we were doing our own, we used wood. I have a little cheap soap stone stamp that came with a Chinese calligraphy set I bought years ago. I'd love to get it carved!


The wooden stamp we carved, next to my little soap stone stamp and a chapstick for size comparison.


On the last day, last week, brush calligraphy!! We practiced these for a while and then did them on highest quality museum quality board, complete with name seal. I love these and I really want to frame and hang them up.


                   "Joy"


"Zen Meditation"


               "Spring"

Monday, November 10, 2014

Japanese Wood Block

I'm taking a Japanese art class at the local museum and our first project is a wood block carving.  I love all forms of printmaking and I haven't done wood block carving in years.  The first class we had a live Japanese model in a kimono with props (fan, bag, parasol) and we drew from life.  We then took our favorite drawing/composition to turn into a print. 

I just finished cutting my block last night and did a quick test print with crayons to get an idea of how it will look completed.  The block is roughly 6"x8" and carved on both sides.

I'll do a more thorough post on this after the actual printing. For now, here's my block and crayon test print. 


Friday, October 31, 2014

A Black Cat Halloween

In honor of Halloween, I'm going to share some small paintings I've done of my brother's black cat.  I love this guy and I take tons of photos of him whenever I'm home for a visit. (He's very photogenic).  Several of these photos have  become references for paintings.  They're on the small side, the largest is only 9"x7". 


Watercolor on paper, 9"x7"


Watercolor on paper, 3.5"x2.5"
Artist Trading Card (ATC) size.


Cut paper, about 1.5"x2".


Acrylic on mini stretched canvas, 2"x2.75".  


Happy Halloween!

Wednesday, October 29, 2014

Poppies

Taking another quick half a day break from commissioned work a couple of weeks ago, I made this little picture of poppies.  I found the blue and purple background I had put aside from a friend and decided to draw some poppies on it.  More simple free hand drawing with no worry about precision or pleasing anyone but myself. 

I had taken several pictures of poppies on a road trip through the Balkans last summer.  These particular ones were from a pretty area right on the border of Bosnia and Croatia, looking out to the sea.  

First, I picked out the poppies I liked most and drew them on the first scrap of tracing paper I could find. When I had all the flowers I liked, I transferred it to the blue background paper.  I actually really like the scrap tracing paper and I might do something else with that in the future. I like the horizontal composition. 


I traced these flowers onto the blue background paper and then filled them all in with white gesso.  I wanted to use watercolor and colored pencil for these and if I colored straight onto the blue, the colors would have turned muddy.  So I gave them a clean white base to start. 


I decided to use my Cretacolor watercolor pencils to put down a base color of yellows and light oranges. After I sort of scribbled the color on, I washed over with a watercolor brush and clean water. 


 Detail of the scribbled color.


After washing it with water. 


After the base color was added, I filled them in with more colored pencil, but not with the intention to turn it into a watercolor wash.  I used a variety of oranges and reds to fill them in, and then used a fine black marker to hatch in some lines in the darkest areas.  I used a white gel pen to add some more hatched lines for the highlights and then outlined the whole composition with the black marker to make it stand out more. 


Details...


Details....


Finished picture, about 8 1/2"x11". 

Thanks for looking!

Sunday, October 26, 2014

Watercolor Coming Up...

On a trip to Italy three years ago, I took this photo in Florence:

 I had climbed to the top of the Cathedral and took this shot looking up at the gorgeous carved architecture.  I've been wanting to do a watercolor painting of it ever since!  

I made a quick sketch in my sketchbook on top of some random orange scribbles from some other project or other (and I think it actually adds to the sketch, I like it!) 


 Anyway, that's nothing special but this photo has been on my mind for a while and I finally took the time to start it.  I did a sketch on large (well, large for me, 14"x20") hot pressed (smooth) watercolor paper. 


I know it's hard to see, but it's a very light pencil sketch and as I'm using watercolors, I don't want the pencil to show through or get smeared and dirty the color.

I did make a small print of the drawing and played around with some of my Winsor & Newton colored drawing inks I've had forever and never used. (Another problem of mine, hoarding art supplies and not using them. That's going to be a new project, start using all the supplies!)


This one is small, a little larger than 8"x10" and my aim here was to loosely apply some color and see what happened.  It was also a small break in the middle of my dresses and I wanted to not worry about being precise and accurate, but throw down some color and get this image off my chest a little bit. 

When I start this painting, I'll post as I go along. Until next time!


In Between Projects

Ok, I have to get better at keeping up with my blog. I've been a terrible slacker and I mean to get a bit more serious! 

In my defense, I have been very busy with Etsy work.  I'm so excited my little shop has taken off and I even added a new listing, thanks to some special requests I received. In addition to wedding gowns and watercolor paintings of the bouquet, I do "Bride and Groom" drawings too.  I can't believe I hadn't thought of it, but thank you to the customers who asked for it. What a cool idea!


Then, one of my personal favorite wedding gown drawings:


 The more folded and draped fabric, the better, I think! I love drawing all those folds and shading. Fabric is a fascinating subject.  Drawing with white pencil on black paper also adds to the challenge. It's like drawing in reverse, all the opposite shading you would do with a pencil on white paper. Am I making sense?  I don't always when I talk about my art!! I get so into it and in my own world.  

Right now, I am working on a watercolor bouquet painting. I'm excited to have a flower painting to do, as flowers are one of my absolute favorite subjects. More on that one later. Until next time!


Tuesday, September 30, 2014

Coming Soon!

I just saw that my last post was about three months ago. Time flies and I just didn't realize! I have been very busy with wedding dress drawings from my Etsy shop actually (yay!!!) and have not had the time to either work on my own artwork or post about any of the dresses.  Plus, much as I am excited to be earning money doing art, I didn't think lots of blog posts about wedding gown drawings was all that exciting to others. I'll post a couple so you can see what I've been up to, but I am working on a few other projects I will post more about later. 

I still have orders coming in for my wedding gown drawings and bouquet paintings and I'm really excited my little shop is finally taking off a bit! I have been a little burned out with doing nothing but dresses for a few months, so I decided I needed to do some personal projects in between.  

When I get an order for a drawing, my instinct is to do it right away and put everything else on hold until it's done.  With the steady stream of orders coming in over the last few months, that's what I've been doing and haven't done a single project for myself.  So now I'm making it a priority to work on some of my own work even while I have Etsy orders to fill. Of course they are the priority and I don't mean I'm going to slack off on them, but in order to keep my sanity, I will be doing some drawing and painting of my own.  

I'll be back soon (way sooner than three months this time, maybe like three days!) to post about some little projects I've been up to.

Monday, June 30, 2014

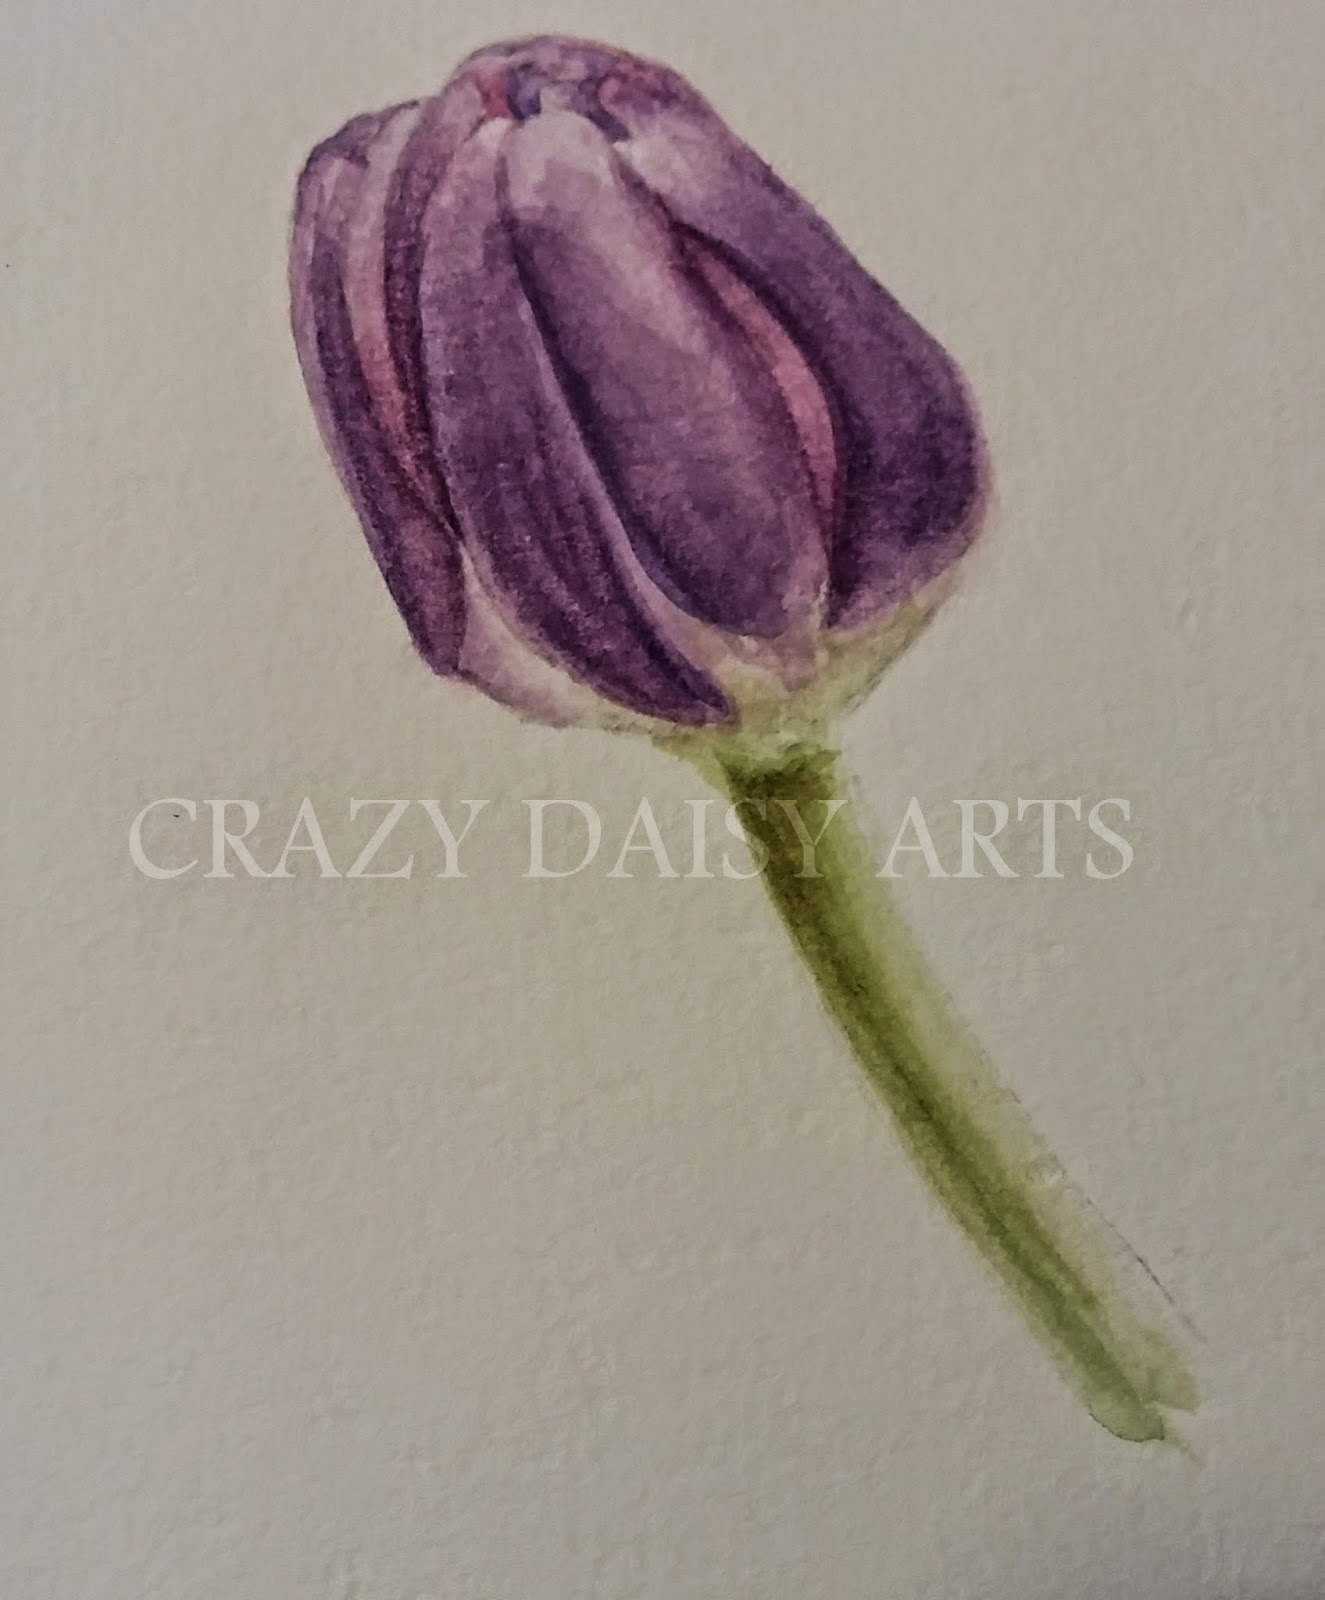
Red Tulips

In my last post, I put up a cropped photo of a work in progress.  Well, I finished it!  I did this painting as part of an art swap with a friend.  She makes beautiful crochet blankets, so in exchange for a beautiful handmade blanket, I painted her some red tulips.  I love painting flowers and have become pretty good at it, if I do say so myself, so that's what she requested.  


My favorite part of the painting is the bottom tulip.  I love the perspective, the way it's just coming out towards you.  That's why I took a few other photos of it from crazy angles. 


Another thing, I don't paint glass very often. In fact, this is exactly the second time I've painted glass, but I really love it! All the different colors and abstract shapes in the reflections are really fun to do.  I had a lot of fun painting this picture and I think I want to do a larger version of it sometime in the future. 

Thursday, June 26, 2014

Sneak Peek....

I'm still working on my friend's tulip watercolor.  Here's a little preview...


Variety of Tulips

A friend and I recently decided to do an art swap. She makes beautiful crochet blankets and she said she would make one for me in in exchange for a painting of tulips.  Good deal! She likes red ones, so I bought a bouquet of red tulips and took several reference photos for her painting (which I'm doing in watercolor). 

I had two other commissions I was working on though, before I was able to start her painting.  By the time they were finished, the red tulips had died, but I really had wanted to practice some more drawing straight from life, so I bought another bouquet of multicolored tulips for sketching (and decorative purposes, of course!).  

Here are my life drawings of tulips.  


I just bought myself a little Moleskine watercolor journal and I was so excited to start painting in it. This is my first entry.


Quick pen and ink sketches. This sketch and the one below were both done in my 5"x7" sketchbook.

Getting detailed in pencil. 

The tulips were starting to wilt and die, and I always find drawing wilting flowers a good exercise. This one is a bit larger, done in my 9"x12" sketchbook.

These ones were really falling apart! 9"x12".


Tuesday, April 29, 2014

Sketching Outside

So the sun was out this morning (finally!) and I couldn't wait to get outside to draw that little park! (I posted the photo in yesterday's blog).  I had some things to do this morning, then I came home for lunch and went right outside, and of course, that's when the clouds rolled in to stay. *sigh*. I really wanted the sun because it casts more shadows, which of course add nice contrast.  I'm not sure how long these gorgeous trees stay in bloom like this. That and the serious lack of sun in this country made this sketch pretty time sensitive.

When I walked outside into that sunshine, it was so warm and made me so happy.  I was outside for a good hour or so, when I noticed my hands were getting cold and it was a bit windy. Grr, Scotland...

Well, at least I did it. I went outside, into a public park and did some art.  No one bothered me, if anyone was looking over my shoulder I didn't  notice, so besides the clouds, an overall success!  I didn't do the whole thing outside.  When I realized the sun was not coming back and my hands were cold, I went inside to finish painting from the photo I took the other day. 


I really love these trees, I wish they would stay this pink and flowery all spring and summer.  It's so nice to look out my window and see so much color. 

Monday, April 28, 2014

Drawing From Life

I've been thinking that I need to draw more from life.  My usual MO is to take a lot of photos and pick one or a few as reference and draw and paint from that.  I especially never wanted to do much "en plein air" work because, well, dragging art supplies from the studio to wherever was a pain, wind and rain are uncomfortable conditions to try and focus on drawing and the biggest reason, I am pretty introverted and like to be left alone while doing art.  Drawing outside draws people, who can potentially hover or even talk to you. To some of you, that might be fine and even welcome.  Not so much for me, it's distracting and I'm not in the mood to talk to strangers while I'm trying to work. 

These sketches are all done in my little 5"x7" sketchbook. 

My first recent attempt was drawing some flowers I had in my house, orange gerber daisies.  I didn't use any color, this was just pen and ink.  I placed them on my coffee table, put the tv on and just sketched away.  It's definitely more challenging than drawing from a photo, but I really enjoyed it and was happy with how it came out. 

 You'll probably notice "shadow dancing" written up in the corner.  Well, the show I was watching had that playing and I wrote it down because I like the song.  Don't hate me for liking the Bee Gees! haha. 

These next three drawings were done outside in my yard back home in New Jersey. I was just back for a few weeks visiting and there were flowers popping up all over our yard.  The weather was a bit bi-polar while I was home, some days hitting 80 degrees, another day there was snow. Go figure. But those gorgeous sunny days found me outside sketching flowers. This time I used some watercolor with my pen and ink. 


I really love these Daffodils my grandpa gave my mom. They come up in the little garden behind the kitchen. This day was pretty windy though, and it was hard to draw anything, since the flowers were all waving around like crazy! So I got one and called it a day.

Cannot remember what these flowers were called. My mom told me, but it was some weird name that I'm sure I can't spell. 

Now, I am back in Edinburgh and everything if flowering and blooming like crazy. It's absolutely gorgeous here!  

So far, baby steps. Sketched from life inside with some flowers I had in my window.  Then, I was outside at home in my yard sketching flowers where they grew.  Next step...going outside in public here in Edinburgh to a little park and sketching this...


I will post a photo when I finish!

Monday, March 10, 2014

Just finished another set of homemade coasters, this time as a housewarming gift for friends of ours.  The ones I made for my own home were made from decorative papers, and one was my own drawing. This time, I did little Chinese ink paintings to make into coasters. 

 After the paintings were finished, I gathered up the supplies to make the coasters.  I have a box of 3.75"x3.75" white tiles left from the last set I made.  I also cut up pieces of thin, sticky back cork for the bottom. I cut the cork a little smaller than the tiles so it doesn't show from the top. 


After attaching the cork to the tiles, it was time to fix the drawings to the front.  I brushed a nice, even coat of Mod Podge adhesive to the front of the tile, and carefully laid the drawing on top.  With a large, flat paintbrush, I smoothed down the paintings from the middle outwards to set it in place, and then I put a clean sheet of paper over the top of it and used the brayer to really glue it down.  After the paintings had some time to dry on the coasters, I brushed another coat of Mod Podge over the top to seal it.  You have to be careful here, because some of the ink smeared.  I used black Chinese ink, which was pretty waterproof. I also used Chinese watercolors for the colored parts, which was not so waterproof, and I got a little bit of smearing.  I had to be extra careful not to brush over and over, and cause more damage.  Once that layer had dried, I painted one more layer over the top with no fear of any more smearing.  I left them to dry over night, and then sprayed them with one more layer of a clear, waterproof varnish. And voila! Nice, new coasters.